Tiling a wall can be challenging, but it is possible if you follow a few steps.
- Make sure that you have a flat, straight, and clean surface.
- Make sure you know your tile layout before you start to install your tiles.
- Measure the tile and the wall section to figure out your layout.
- You can place the layout on the floor to see if you like the pattern before you attach the tile to the wall.
- You don’t want to end up with tiny pieces at the end of your rows.
- Make sure that your tiles are level. You can use a level surface as a guide, or use an actual level/plum line.
- Make sure that you have the appropriate type of mortar for the type of product that you are installing.
- Use the appropriate trowels to apply the mortar.
- Always start your installation at the bottom row.
- Where you start on that row depends on your particular layout.
- Some tiles come with spacers built in, for other tiles you need to supply the spacers. They allow for even grout joints.
- Sometimes you can immediately grout, in other instances you need to wait for 24 hours before you can grout.
- Grout comes in many colors, choose a grout based on personal preference.
- There are several types of grout: sanded, universal, and un-sanded.
- Sanded is better for larger joints, un-sanded is used when a tile is fragile and could be scratched by sand.
- Grout is mixed with water per the grout’s instructions.
- Grout is then applied to the wall with a grout trowel. This is different from the trowel that you used to apply the adhesive.
- Divide your work into sections so you can manage your grouting.
- Press the grout into the grout joints.
- Wash the wall sections immediately with water.
- In some types of tile you may need to seal the tile first (granite).
- If you have grouted a tub enclosure you should wait at least 24 hours before you use the shower or bath.
- Lastly, you can sometimes seal grout by using grout or tile sealer, which can keep the grout looking like new. However, this sealant doesn’t last forever and must be reapplied depending on wear and usage.
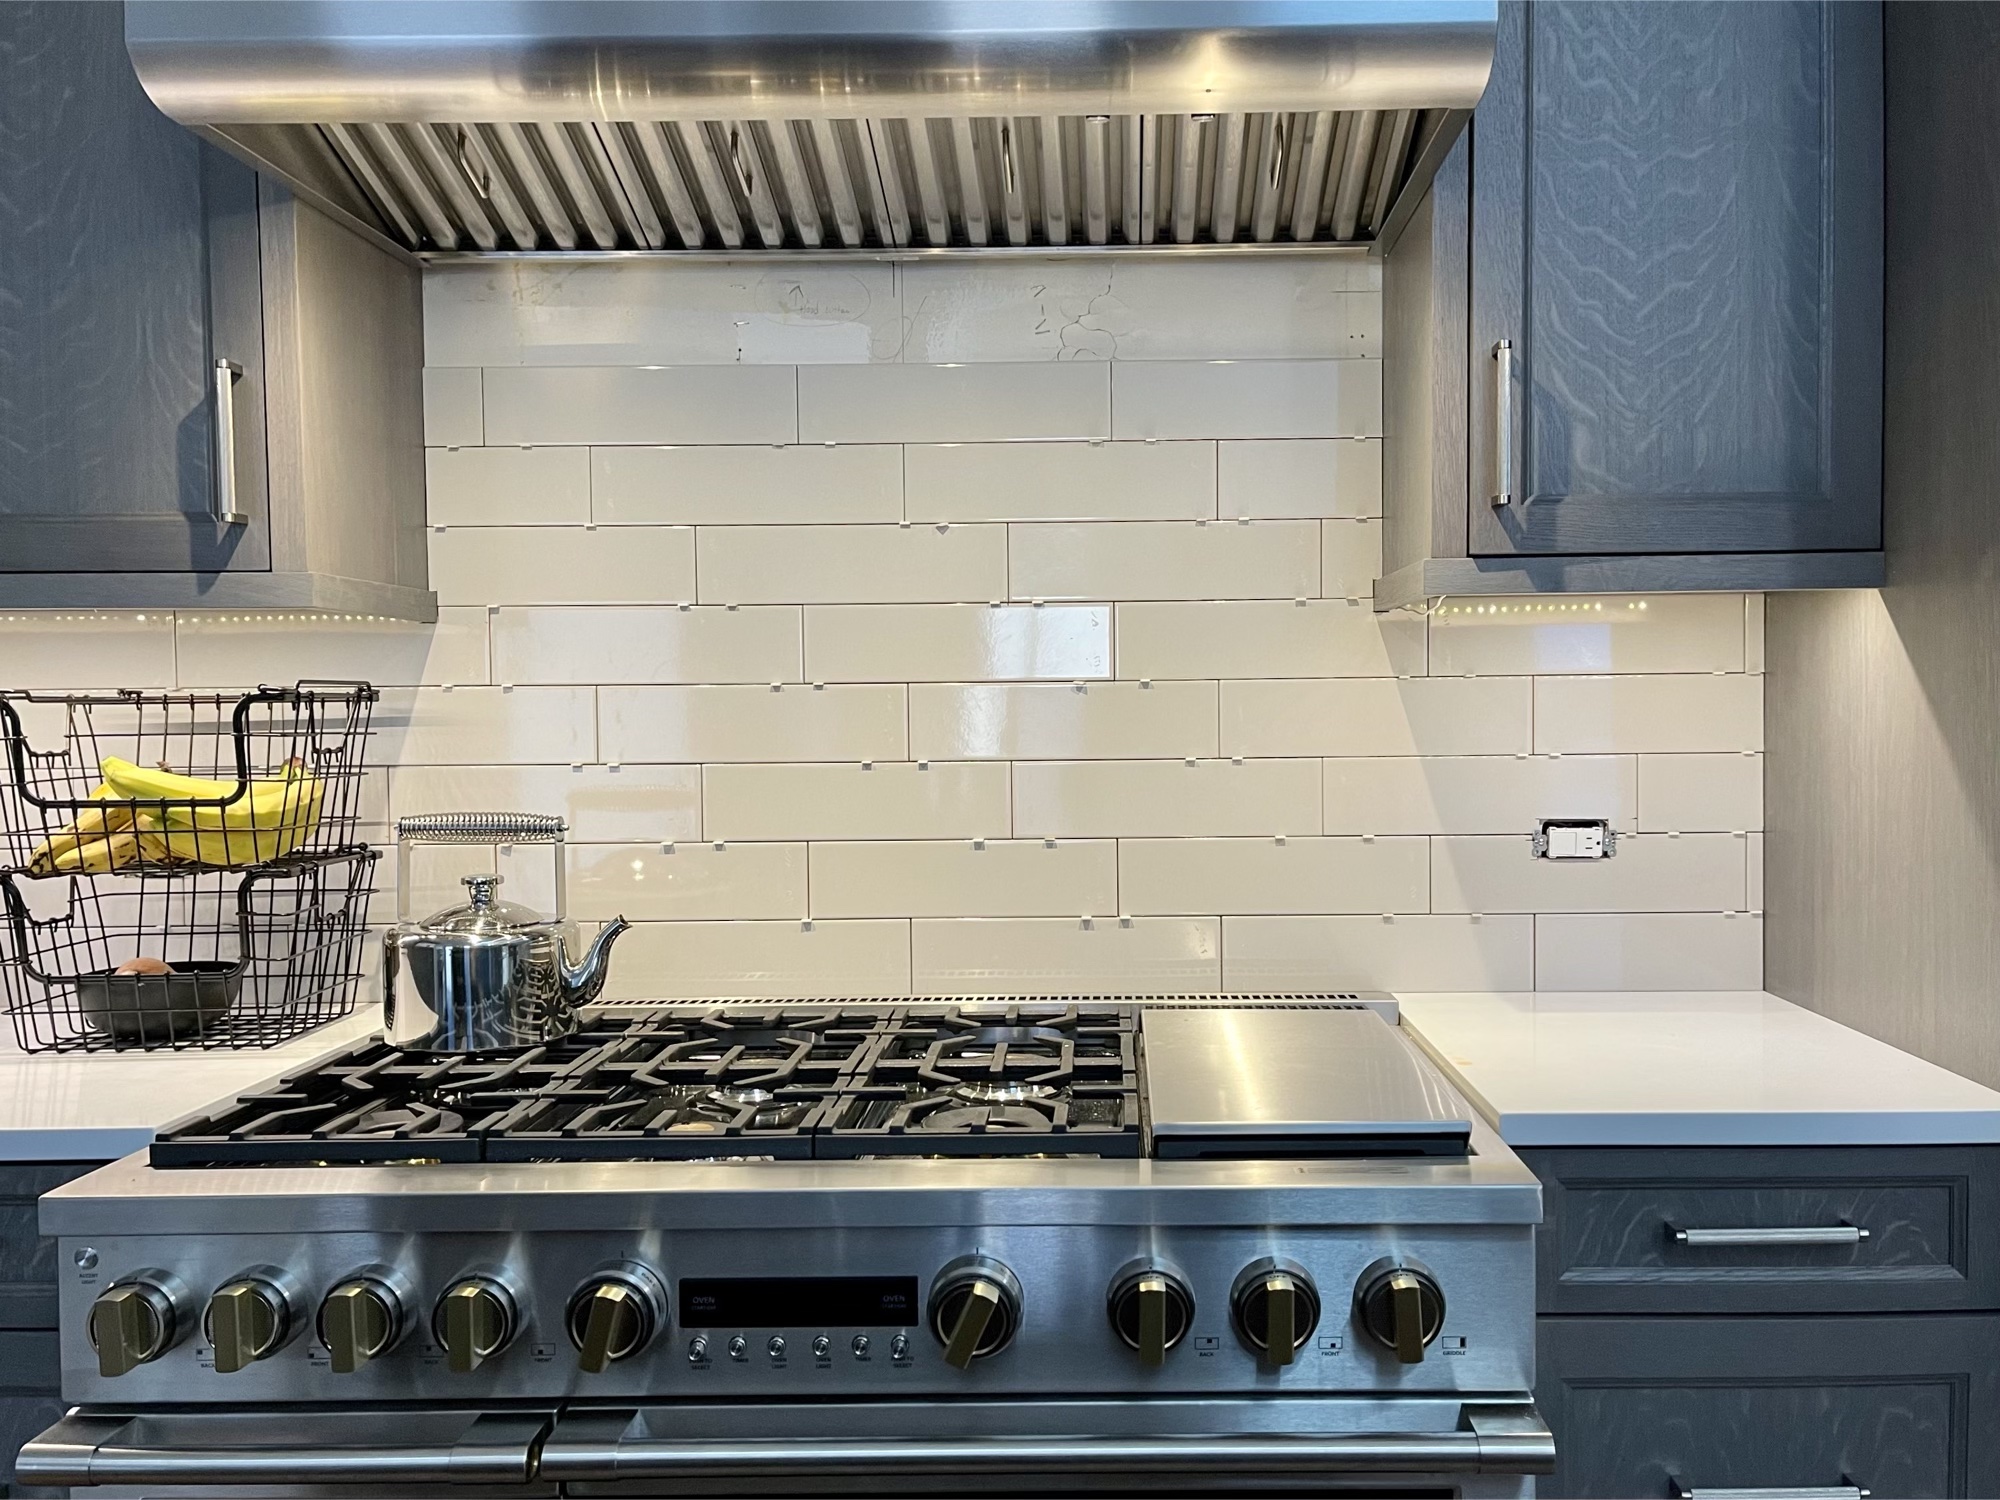
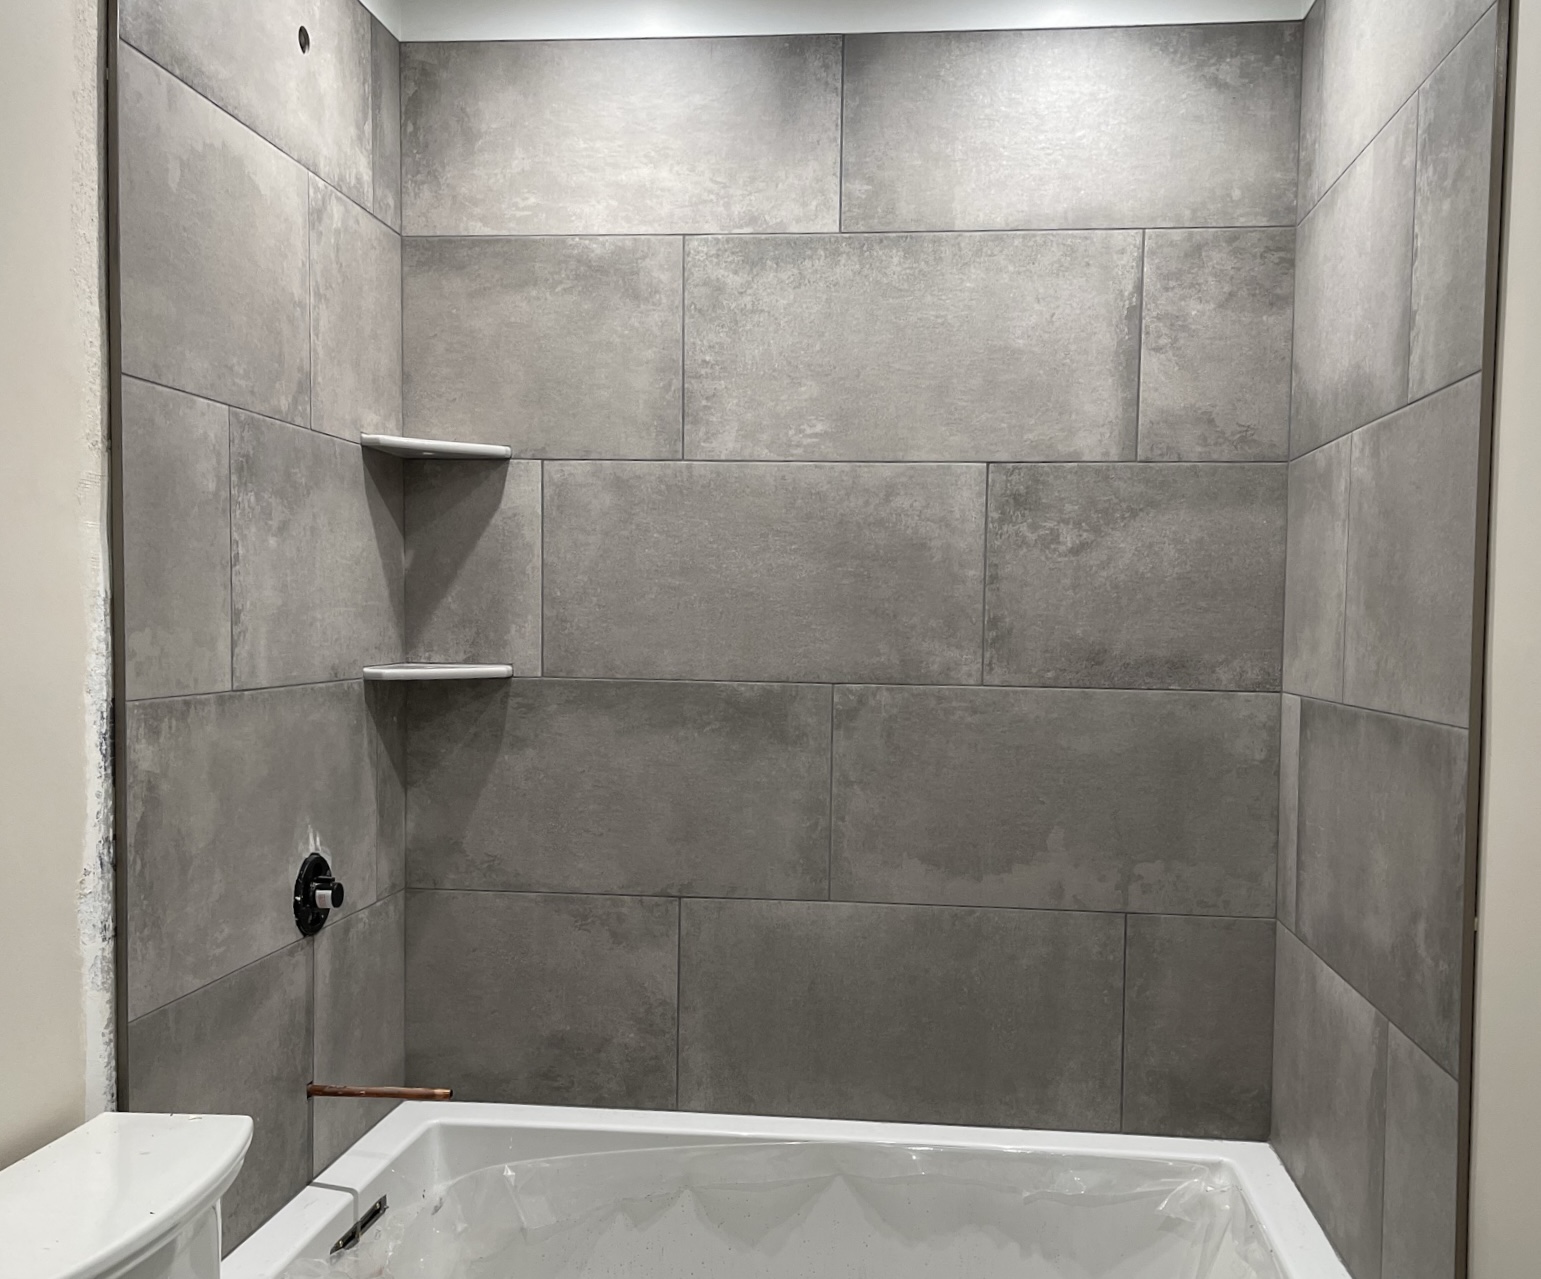
See photos below