Most modern homes use forced air heating. This type of heating works well, and the same duct work can be used for cooling making it a cost effective solution. However, there are other ways to heat a home, as many who lives in an older house or apartment can attest to.
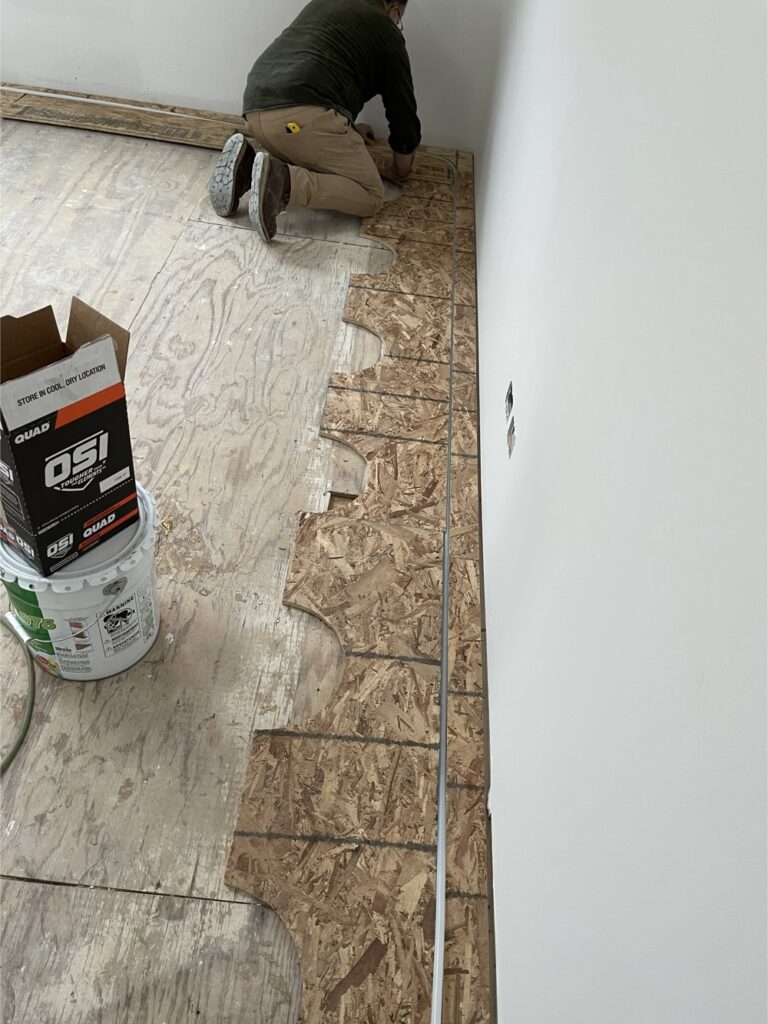
One alternate type of heating is radiant floor heating. This type of heating embeds a channel of plastic pipes in the floors of the home. Hot water is pumped through the pipes which then heats the floor, and that heat radiates upwards to heat the room. Radiant floor heating is fan-less, meaning that it is very even and draft free. Naturally, it also results in a toasty warm floor.
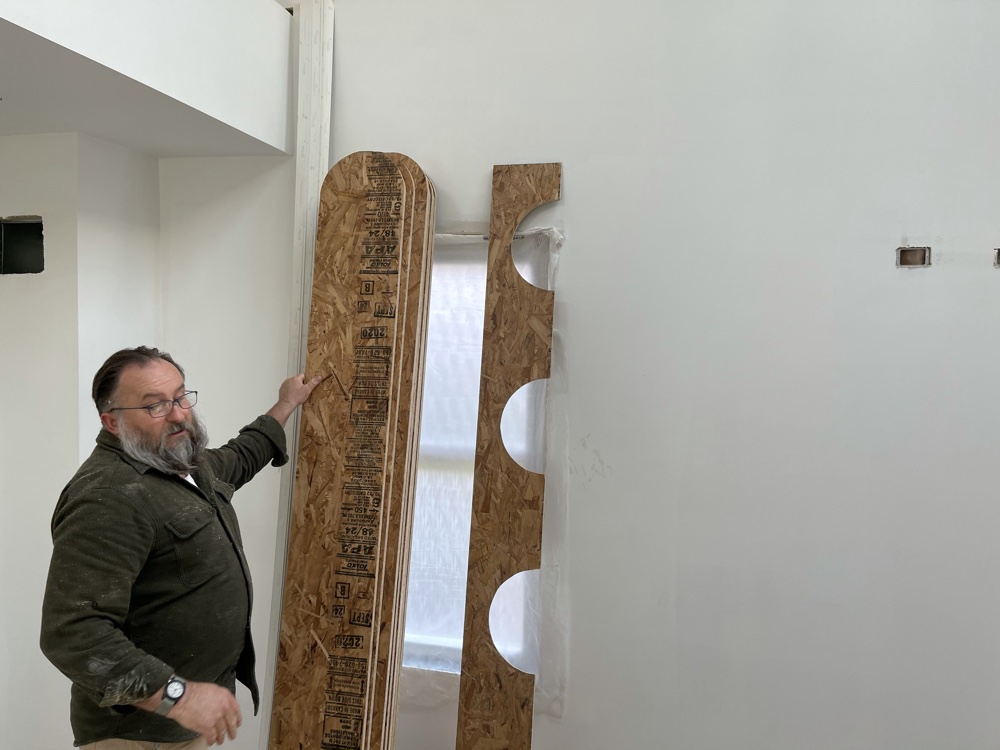
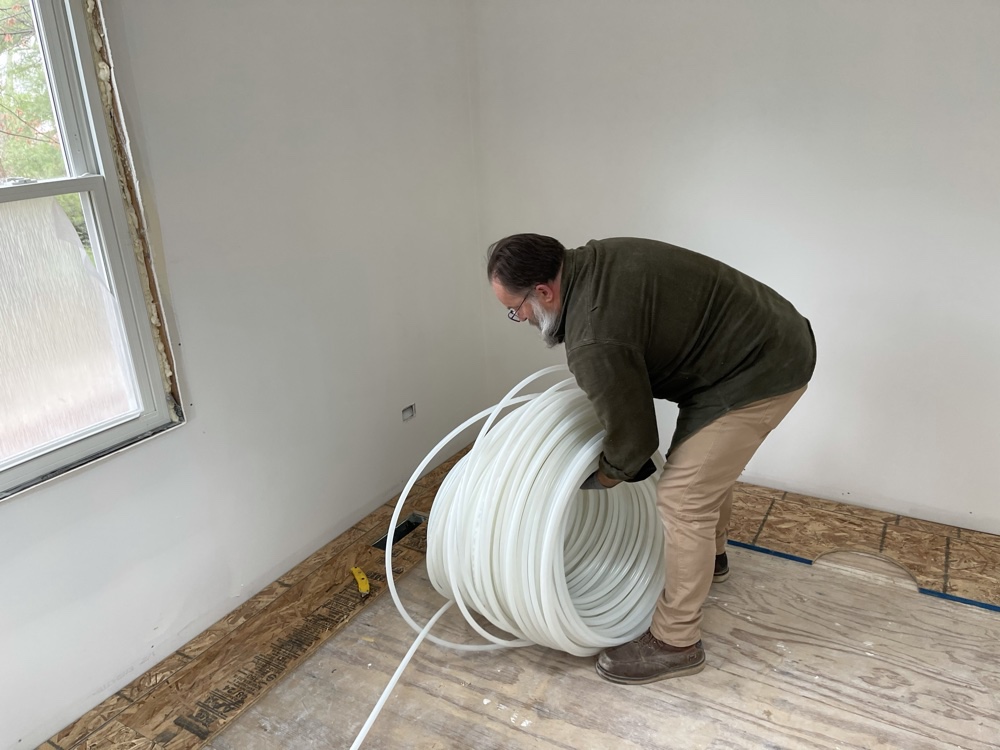
With so many advantages of radiant floor heating you may wonder what the disadvantages are. They main disadvantage is cost, as you still have to have ductwork for your home air conditioning. In some climates a backup forced-air furnace is also necessary for use on very cold days. Radiant floor heating can be installed in an existing dwelling, but it is very expensive to do so. It is also expensive to install this type of heating in new construction. Each “run” of pipe (plastic tubing) is a loop and typically no longer than 300 feet in total. Therefore, even a relatively small home requires multiple loop “zones.” For instance, the two bedroom townhouse that I’m remodeling will have seven separate zones. The pipe itself is specialized and expensive. It needs to be spaced 12″ inches apart to provide a reasonable heating effect. The zig-zag pattern of the piping is usually accomplished by either using very expensive specialty forms, or by using a somewhat less expensive system where the pipes are embedded in self-leveling concrete.
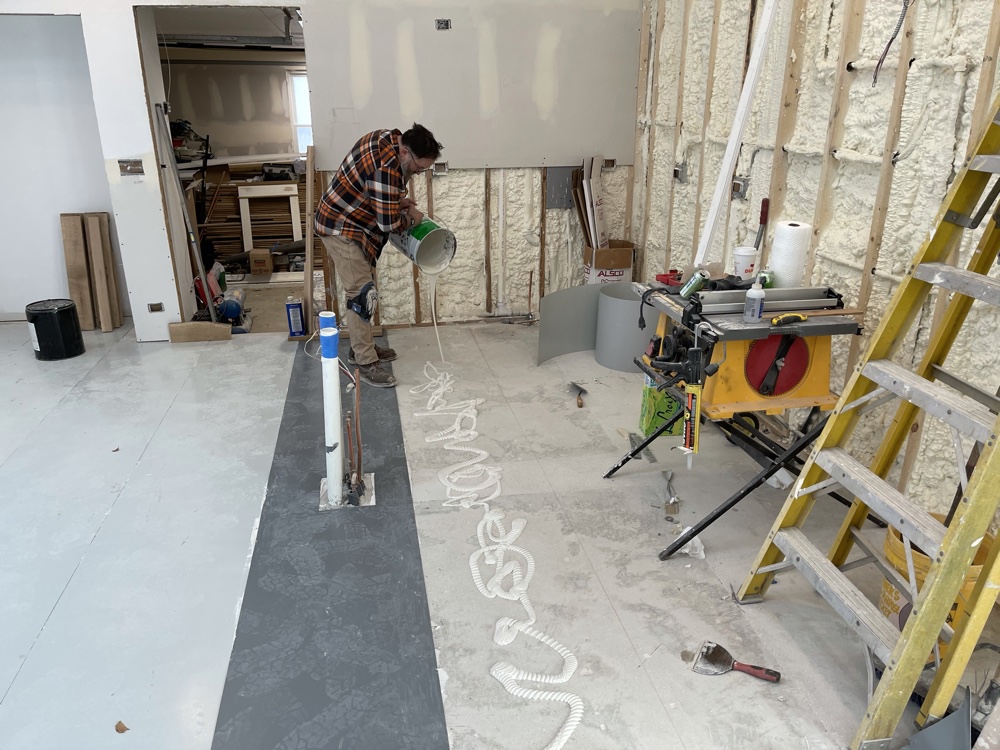
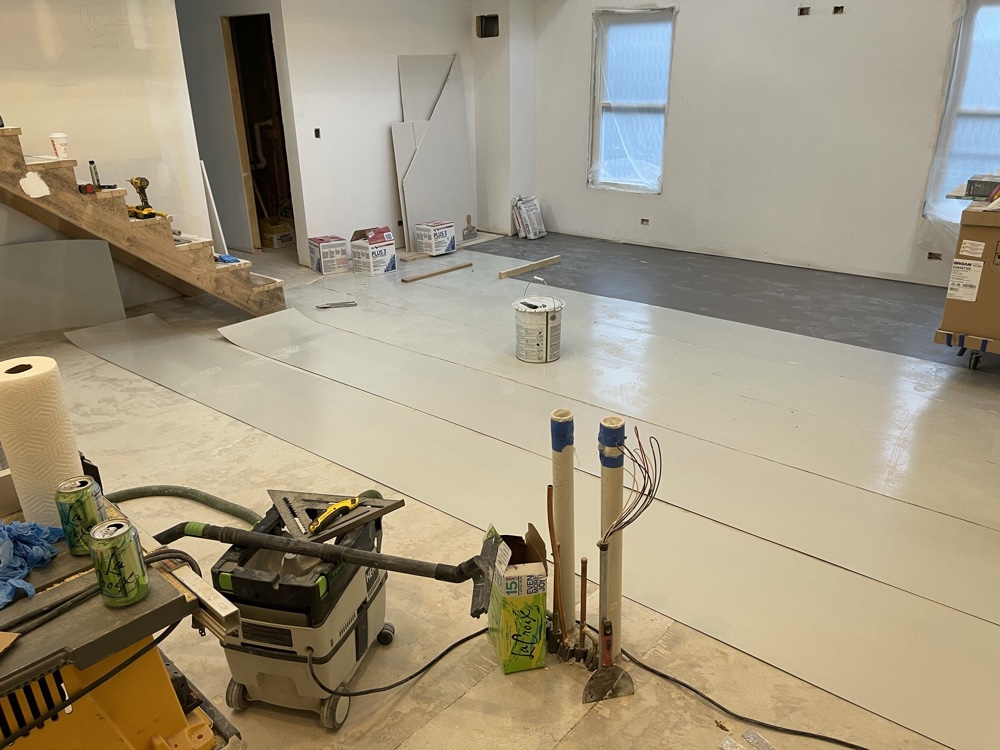
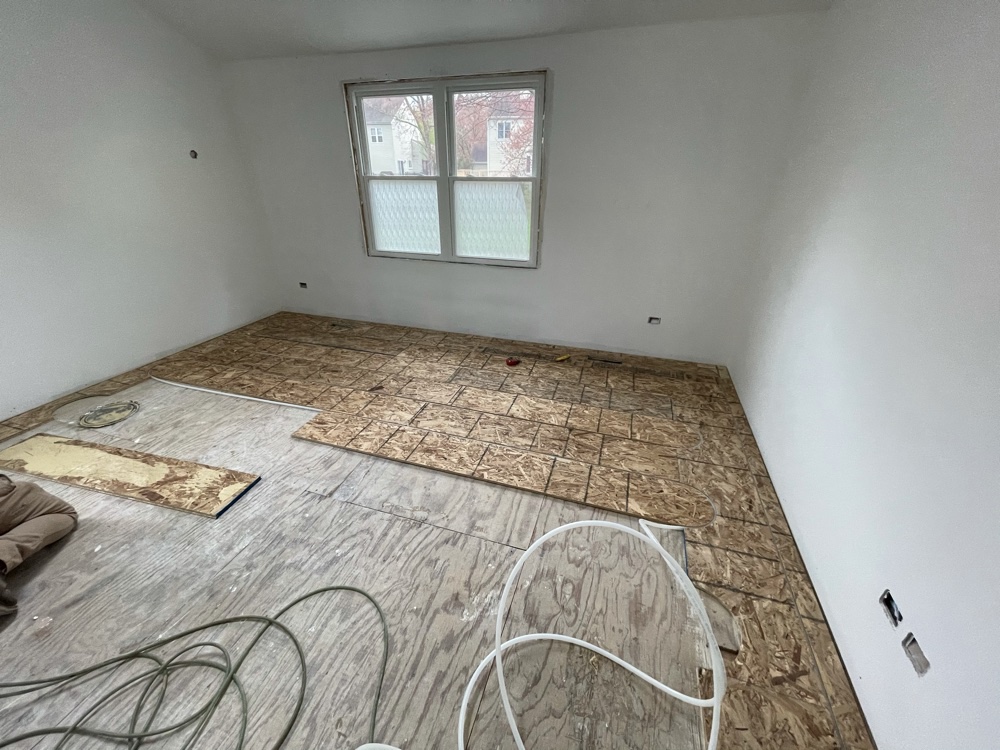
I installed heating pipes directly into the new basement floor that I poured, and posted about that a while back. I’m now in the process of installing the pipes on the main floor of the townhouse. Half of that floor has the basement below it, and the other half resides on a slab. Both substrates required a slightly different approach.
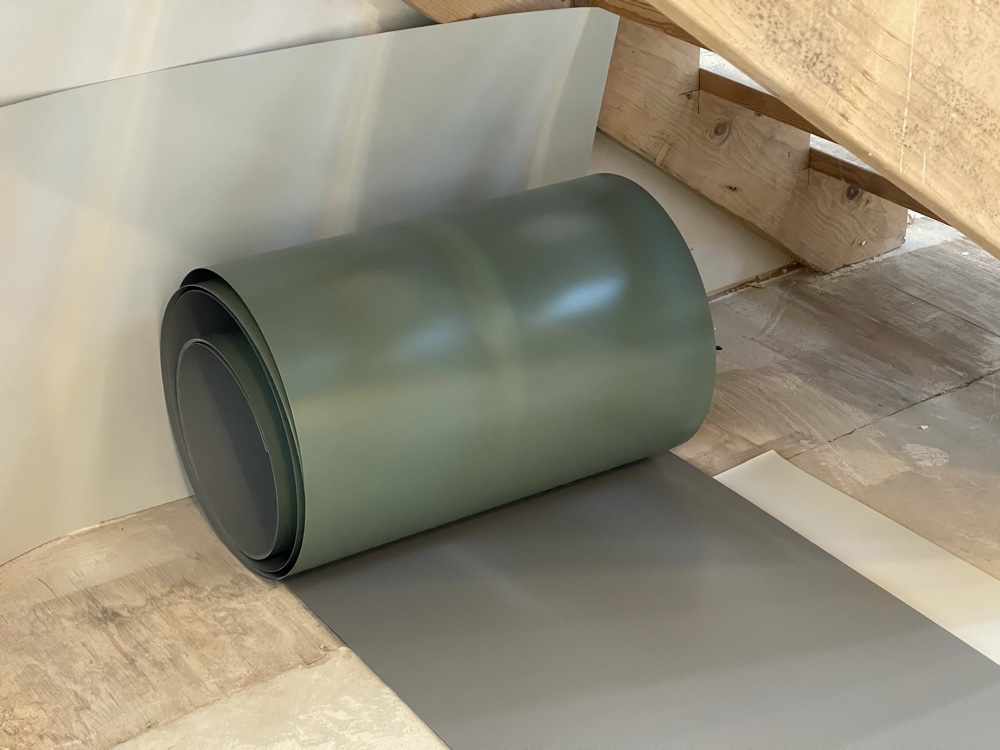
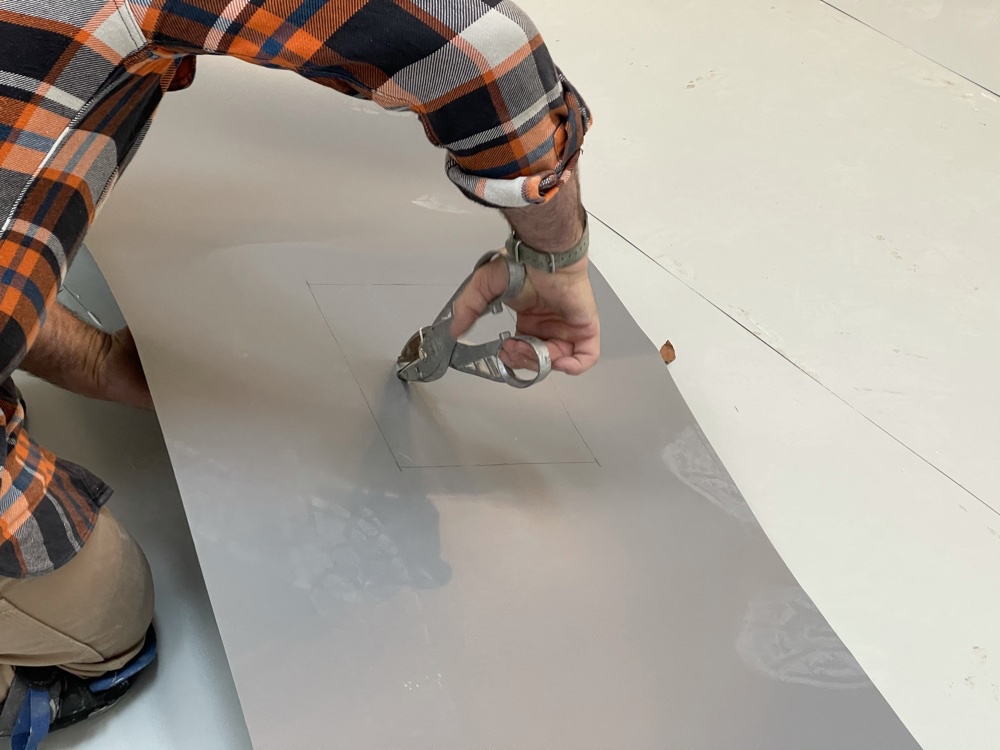
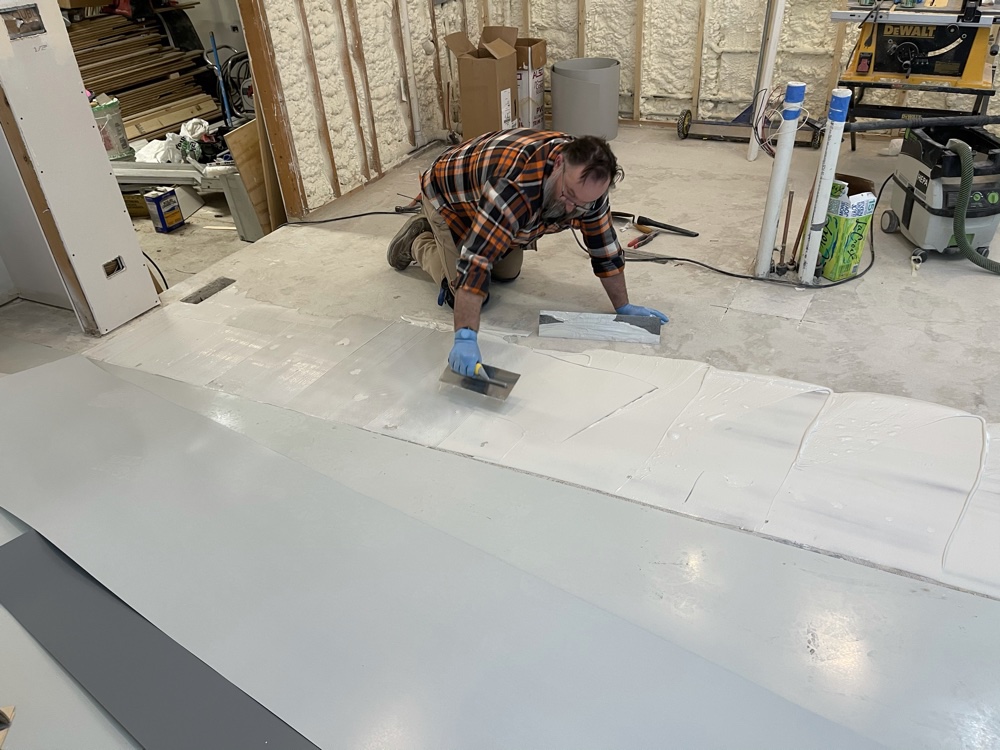
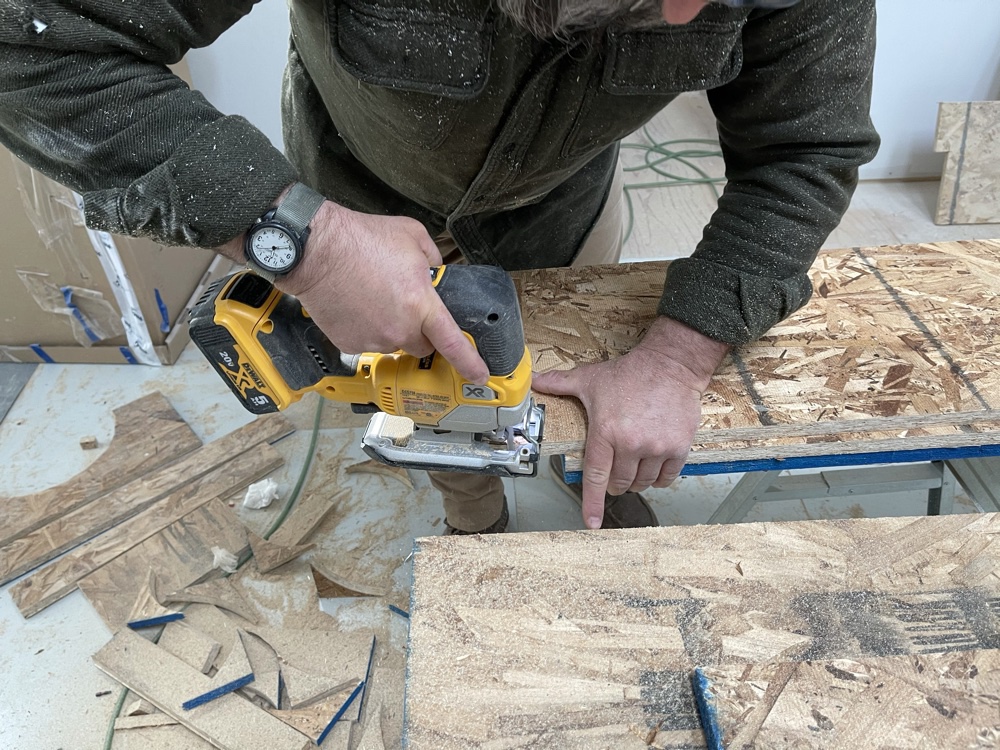
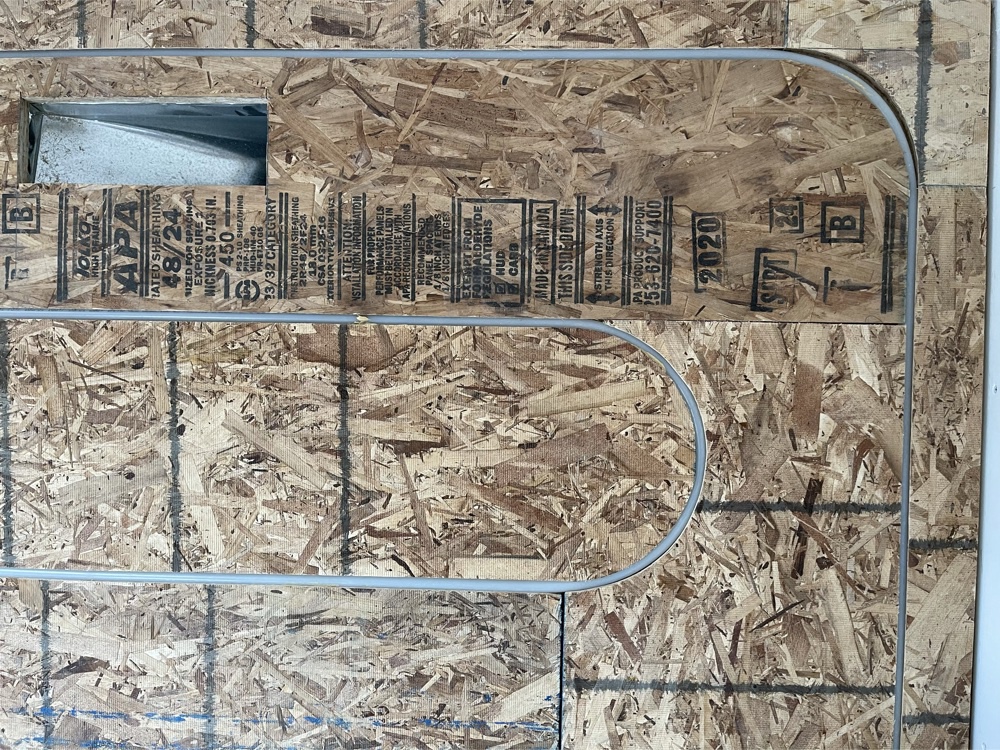
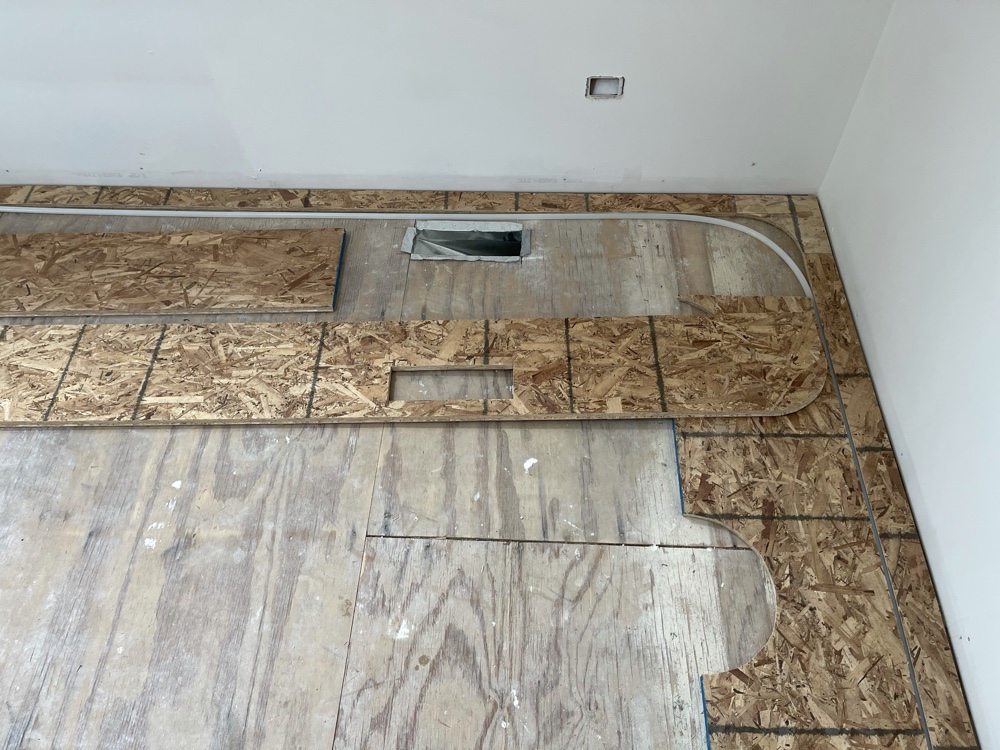
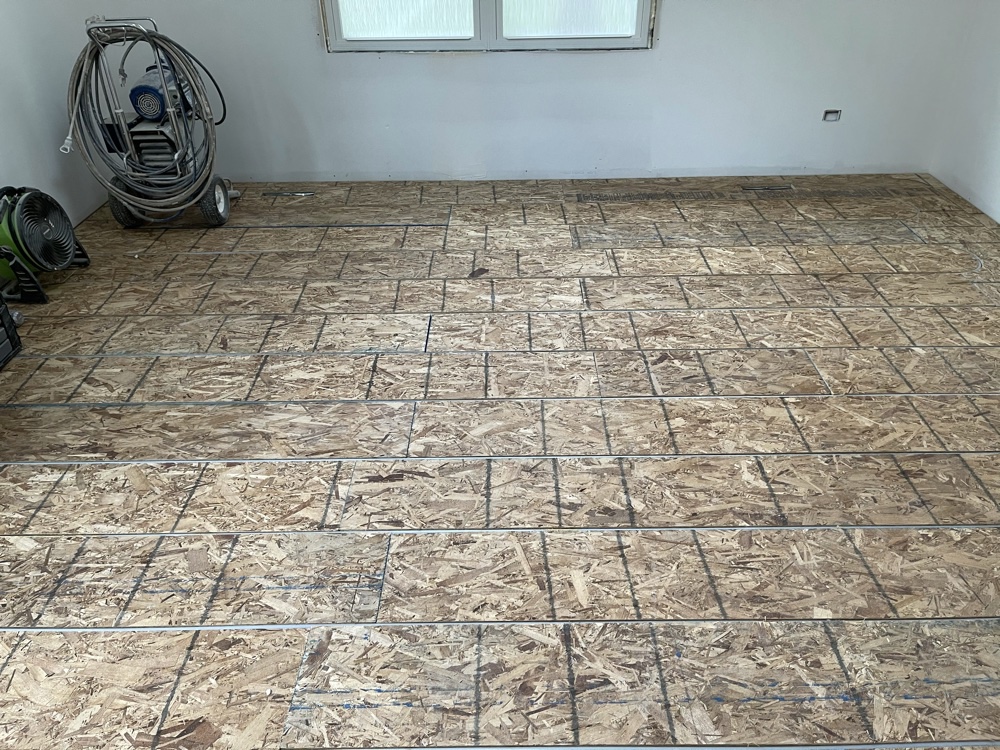
Although the pre-made forms would have been the easiest way to install the tubing the cost was unacceptably high. Using self-leveling concrete presented other problems, so I had to think outside the box. The solution was to create my own forms, that would contain the heating pipes. Although the job was labor intensive I was able to accomplish it with my own effort, plus the help of an assistant. The photos below chronicle some of my tasks.